Fiber laser protective lenses are one of the most critical consumables in laser welding, laser cutting, and laser cleaning systems. However, many operators only replace the lens after serious damage occurs, which often leads to unstable laser performance, poor cutting quality, welding defects, and unexpected downtime.
Regular cleaning and inspection of protective lenses can significantly extend component life, improve processing quality, and reduce maintenance costs.
In this guide, we will explain why laser protective lenses need regular cleaning, what problems contamination can cause, and how to clean them correctly.
What Is a Fiber Laser Protective Lens?
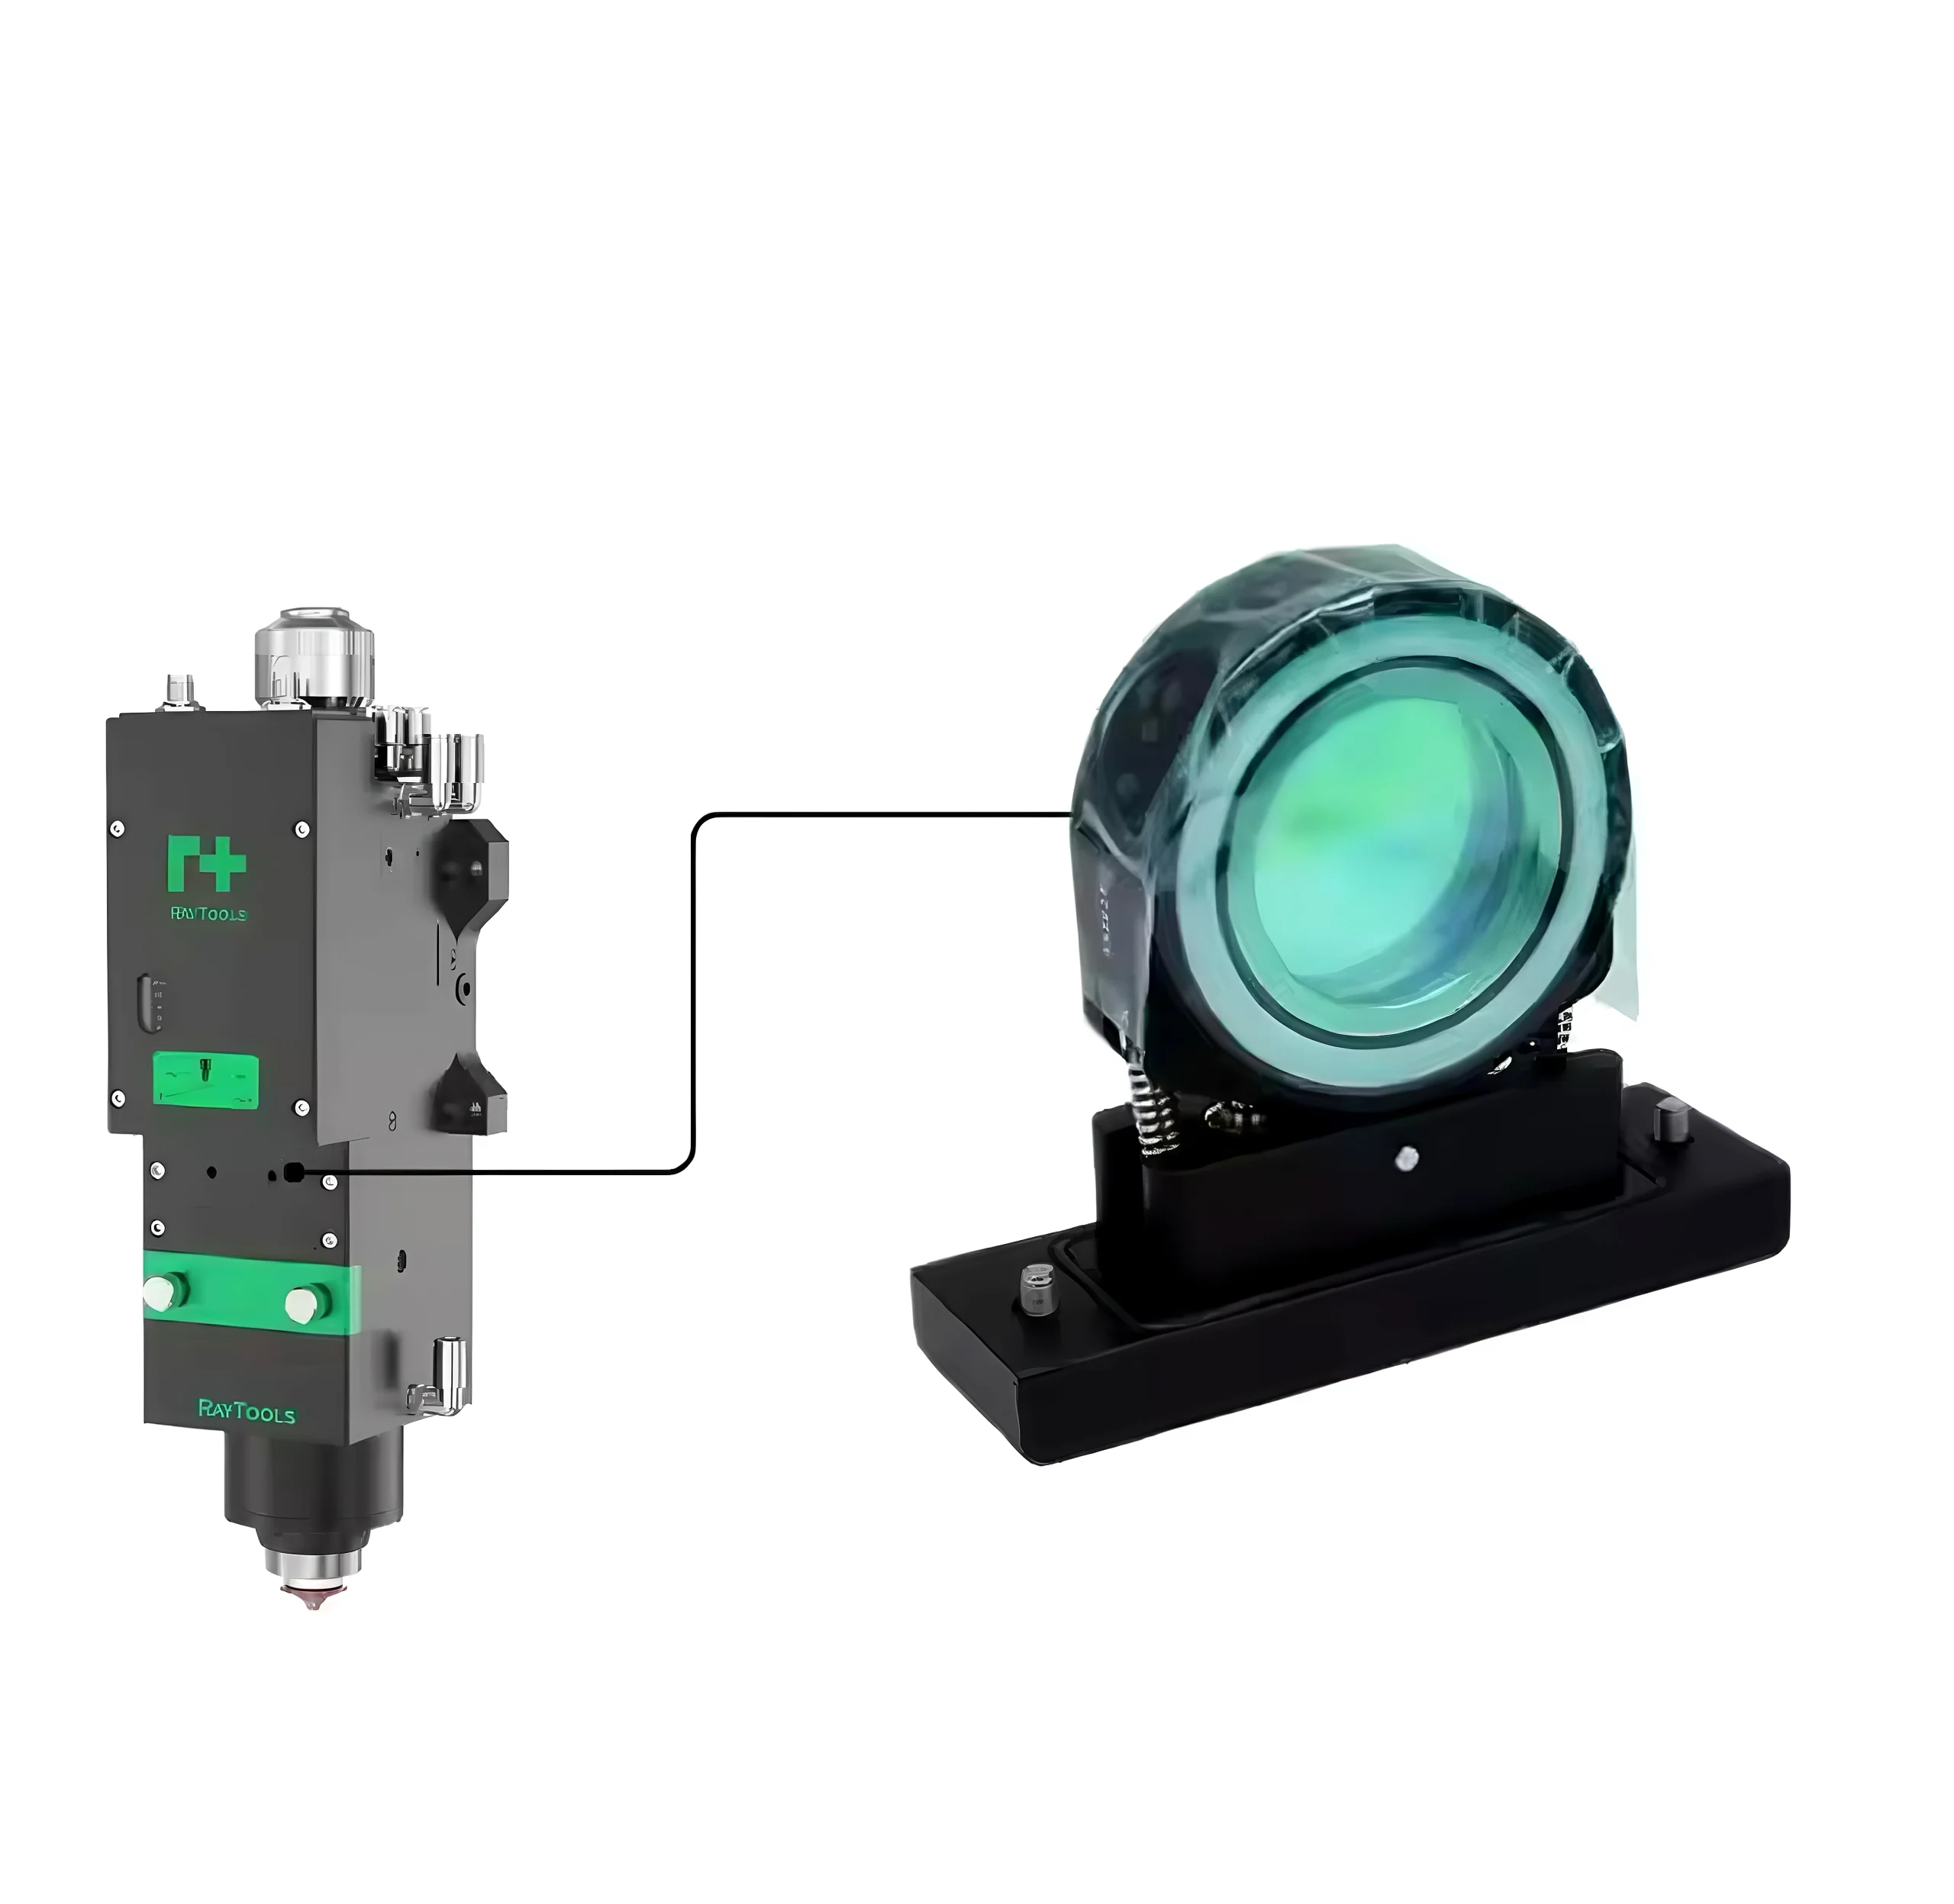
A protective lens is installed inside the laser welding head or cutting head to protect the internal optical components from contamination, dust, smoke, metal spatter, and reflected energy.
Its main functions include:
- Protecting expensive focusing and collimating lenses
- Preventing dust and smoke from entering the optical path
- Maintaining stable laser transmission
- Ensuring consistent welding and cutting quality
- Extending the service life of laser heads
Protective lenses are considered consumable parts and require regular maintenance and replacement.
Why Protective Lenses Get Dirty
During laser processing, large amounts of smoke, vapor, metal particles, and debris are generated.
In laser welding applications, metal spatter and fumes can easily stick to the lens surface.
In laser cutting systems, dust and molten particles generated during cutting can contaminate the lens.
Over time, these contaminants form:
- Burn marks
- Dust accumulation
- Oil contamination
- Coating damage
- Black spots or haze
Once contamination builds up, laser energy transmission becomes unstable.
Problems Caused by Dirty Protective Lenses
1. Reduced Laser Power
A contaminated lens blocks part of the laser beam, reducing effective laser output.
This can cause:
- Incomplete cutting
- Weak welding penetration
- Reduced cleaning efficiency
2. Poor Welding and Cutting Quality
Dirty lenses can lead to unstable laser focus.
Common problems include:
- Rough cutting edges
- Excessive burrs
- Inconsistent weld seams
- Porosity in welding
- Burn marks on materials
3. Lens Overheating and Cracking
Contaminants absorb laser energy and create localized heat.
As temperature rises, the lens coating may burn, crack, or even explode under high-power operation.
This can damage other expensive optical components inside the laser head.
4. Increased Machine Downtime
Unexpected lens failure can stop production entirely.
Replacing damaged internal optics is much more expensive and time-consuming than routine lens cleaning.
Preventive maintenance helps avoid emergency shutdowns.
How Often Should Protective Lenses Be Cleaned?
Cleaning frequency depends on:
- Laser power
- Processing materials
- Working environment
- Daily operating hours
- Welding or cutting intensity
For high-frequency industrial applications, operators should inspect protective lenses daily.
In heavy-duty laser welding or cutting operations, cleaning may be required every few hours.
A simple inspection routine can greatly reduce optical damage.
How to Properly Clean a Laser Protective Lens
Step 1: Turn Off the Machine
Always shut down the laser system before removing the protective lens.
Step 2: Use Clean Gloves or Finger Cots
Avoid touching the lens surface directly with bare hands.
Fingerprints contain oil that can permanently damage optical coatings.
Step 3: Remove Dust Carefully
Use clean compressed air or a dust blower to remove loose particles.
Never wipe the lens before removing dust, as particles may scratch the coating.
Step 4: Use Optical Cleaning Solution
Use professional optical-grade alcohol or lens cleaning solution.
Apply the liquid to lint-free optical paper instead of directly onto the lens.
Step 5: Wipe Gently
Clean the lens surface gently in one direction.
Avoid repeated circular wiping, which may damage the coating.
Step 6: Inspect the Lens
Check for:
- Scratches
- Burn spots
- Coating damage
- Cracks
- Persistent contamination
If damage remains after cleaning, replace the lens immediately.
Signs That a Protective Lens Should Be Replaced
Replace the protective lens if you notice:
- Black burn marks
- Cracks or chips
- Severe coating damage
- Persistent haze
- Sudden power loss
- Frequent welding defects
Using a damaged lens for extended periods may damage the entire laser head.
Tips to Extend Protective Lens Lifespan
To maximize lens life:
- Keep the working environment clean
- Use stable air pressure
- Regularly inspect nozzles and ceramic rings
- Avoid touching optical surfaces
- Replace damaged nozzles quickly
- Store lenses in dust-free packaging
Good maintenance habits can significantly reduce operating costs.
Choosing High-Quality Laser Protective Lenses
Not all protective lenses offer the same durability and optical performance.
High-quality protective lenses provide:
- High laser transmittance
- Better coating durability
- Higher temperature resistance
- Stable optical performance
- Longer service life
At Lasvio, we supply reliable laser protective lenses compatible with major fiber laser systems, including Raytools, Precitec, WSX, and OSPRI.
Our lenses are designed for stable performance in laser welding, cutting, and cleaning applications.
Protective Lens Cleaning Checklist
- Power down the laser and follow the machine manufacturer’s lockout procedure.
- Work in a clean, low-dust area and wear powder-free gloves or finger cots.
- Use an air blower first; never grind loose particles across the coating.
- Use optical-grade solution and a clean lint-free wipe for each pass.
- Inspect both sides under bright, angled light before reinstalling the lens.
- Replace the optic if scratches, coating damage, cracks or persistent hot spots remain.
If cleaning no longer restores performance, review the protective window replacement warning signs or check available fiber laser protective windows.
Conclusion
Regular cleaning of fiber laser protective lenses is essential for maintaining stable laser performance, improving product quality, and reducing machine downtime.
A simple maintenance routine can protect expensive optical components, extend consumable life, and keep your laser operations running efficiently.
If you are looking for reliable laser protective lenses, nozzles, ceramic rings, or other laser consumables, Lasvio provides professional solutions for industrial laser applications.